Vocal Recording and Production Techniques That Actually Work
Professional vocal recording is not magic; it is a series of small, deliberate choices that add up. Whether you are recording your first single or your tenth, the fundamentals stay the same: prepare your voice, capture a clean signal, perform multiple takes, and mix with intention. This guide covers the real craft you can execute in a proper room like the Portal at STU 22, or at home with discipline. Many independent artists and rappers in East London step into a real studio for the first time and feel overwhelmed by the terminology. This post breaks it down into plain language so you can make better decisions about your own session, work confidently with a collaborator, or brief an engineer on what you want to hear.
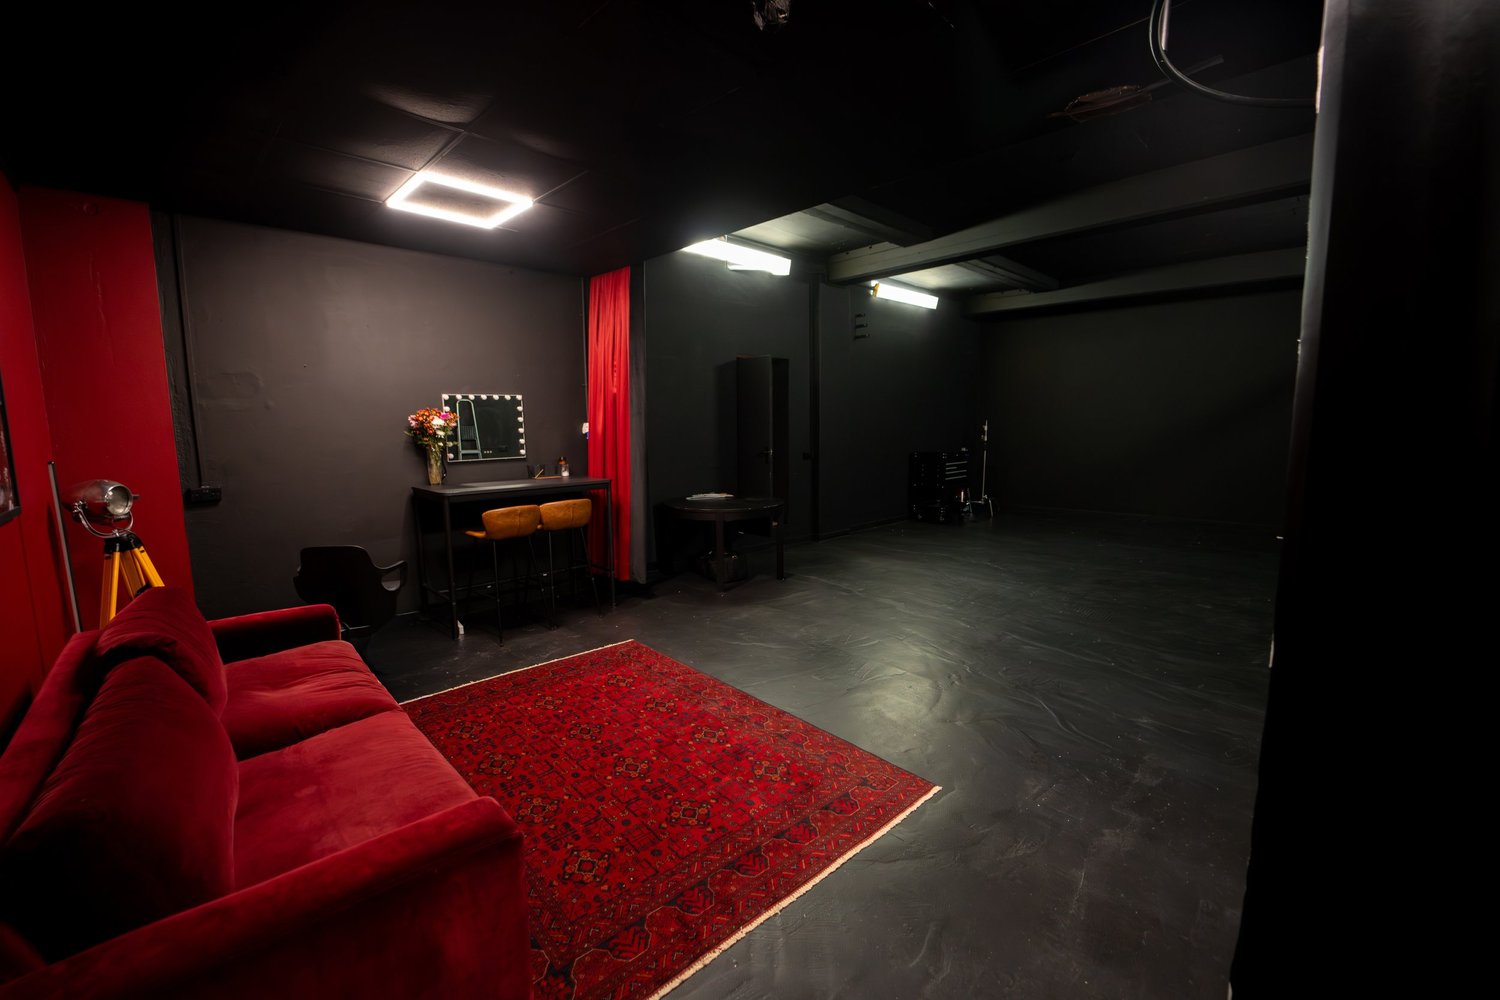
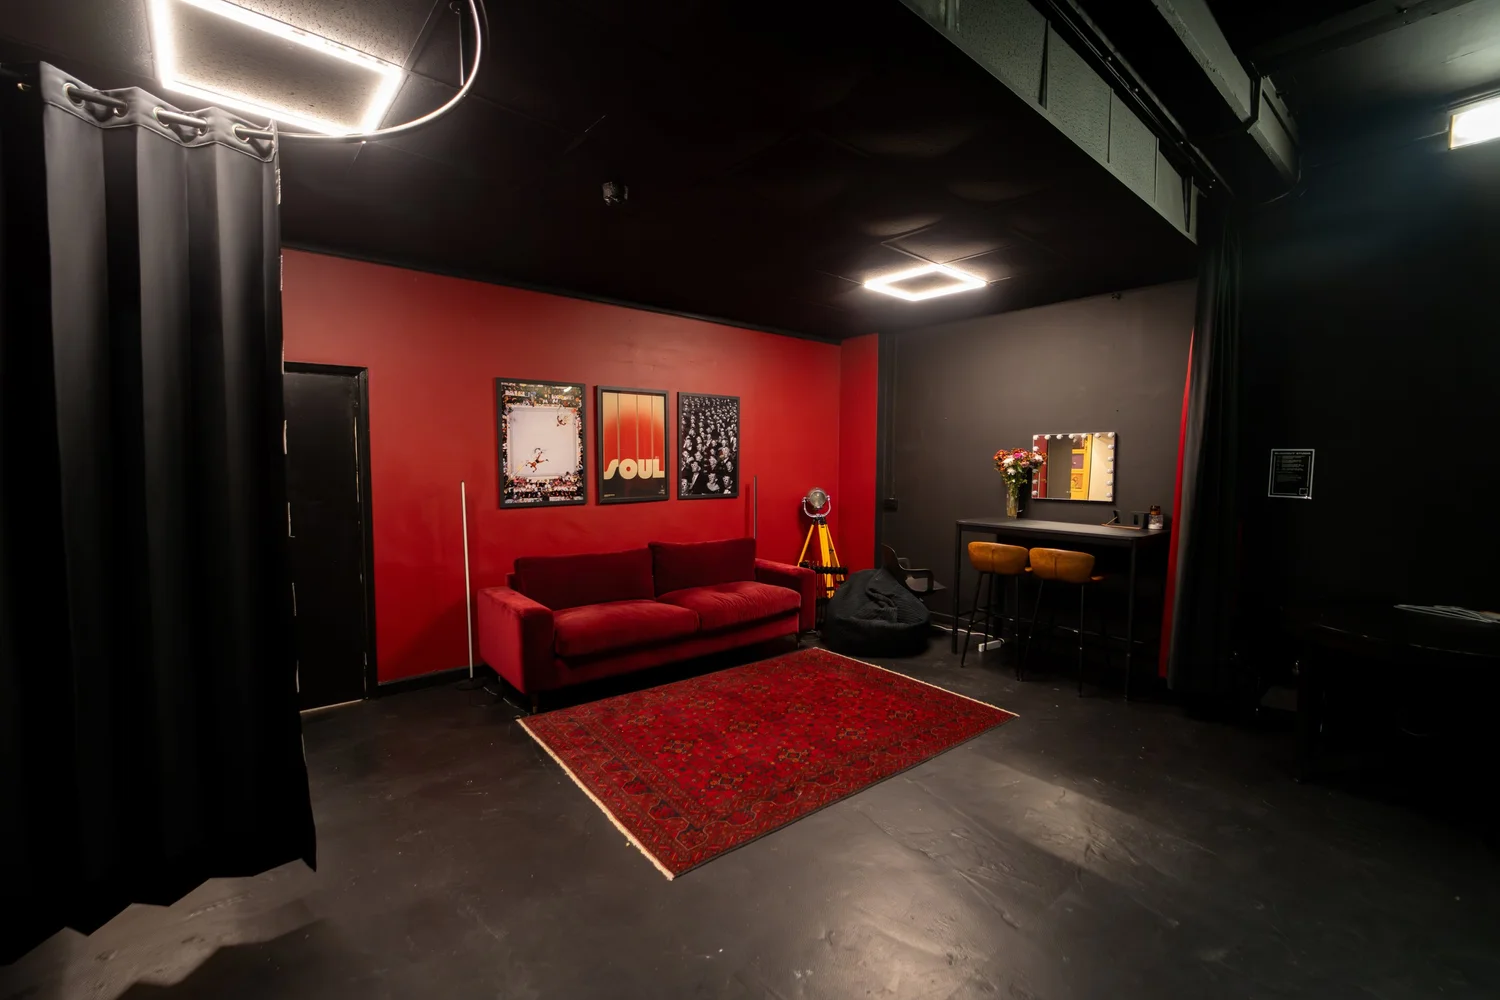
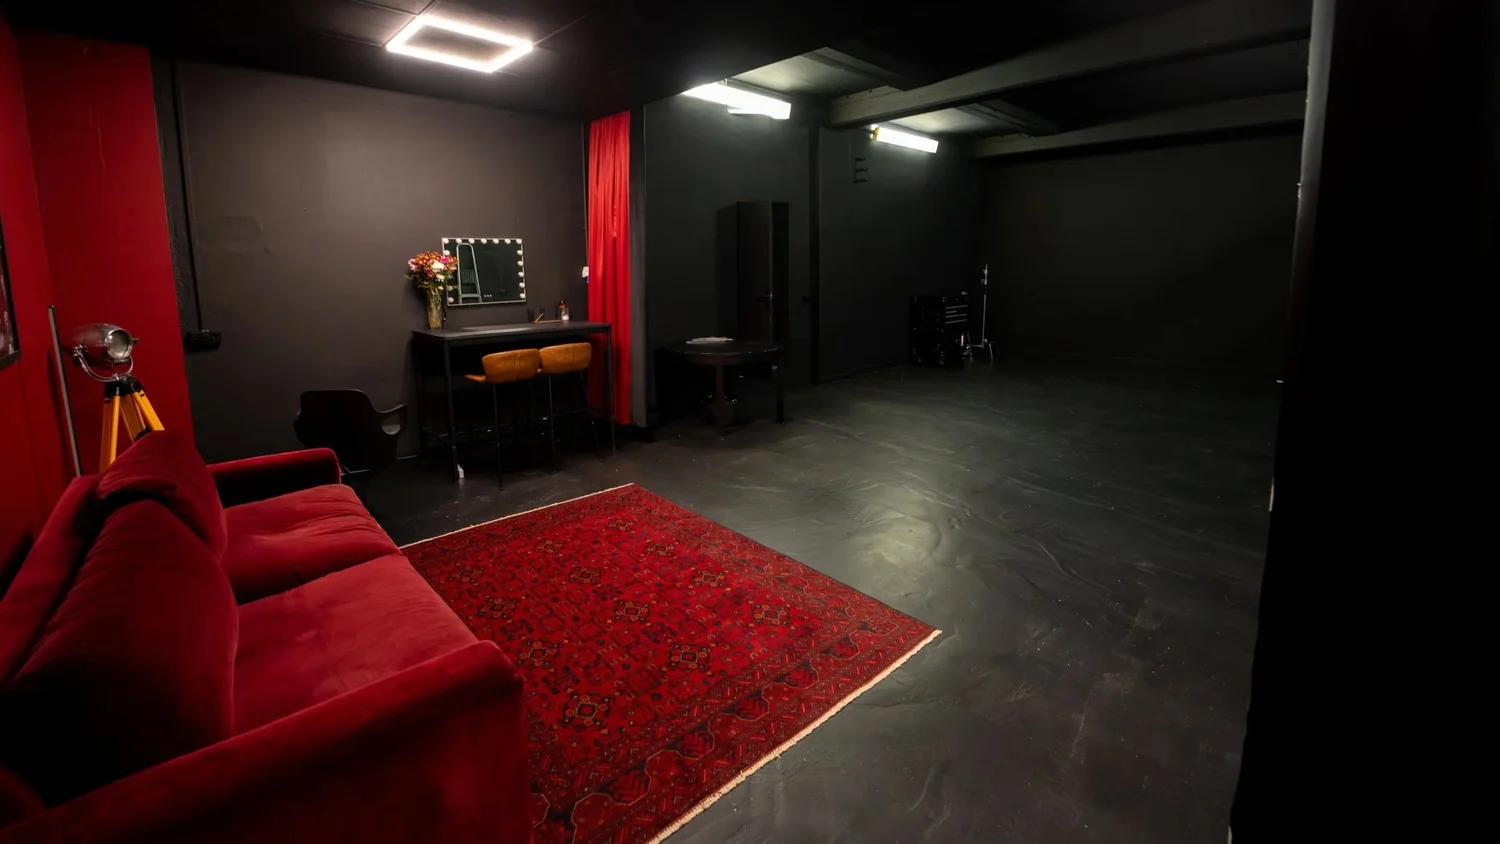
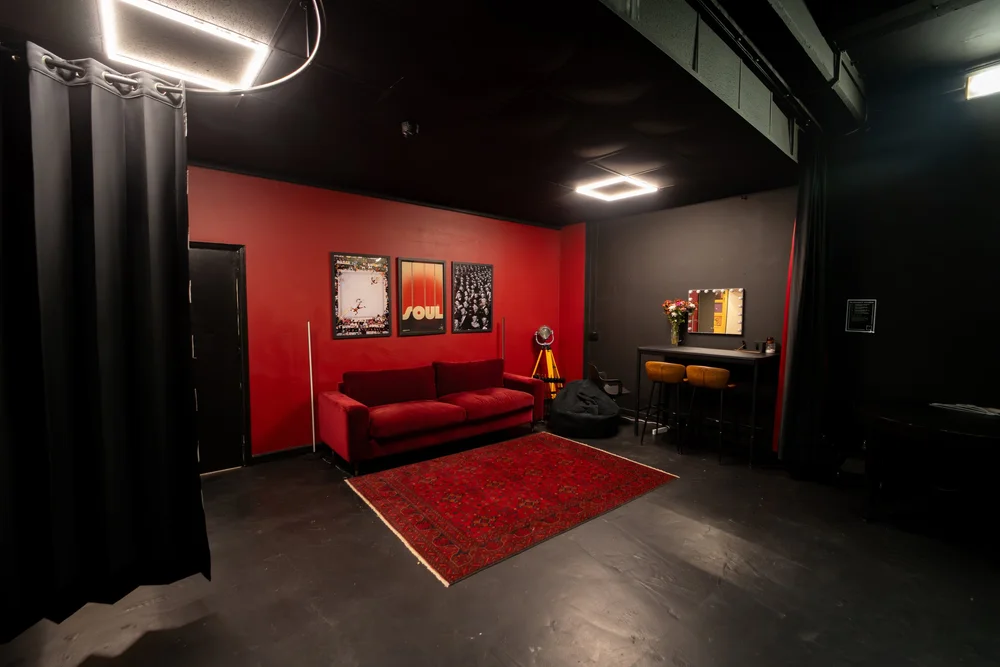
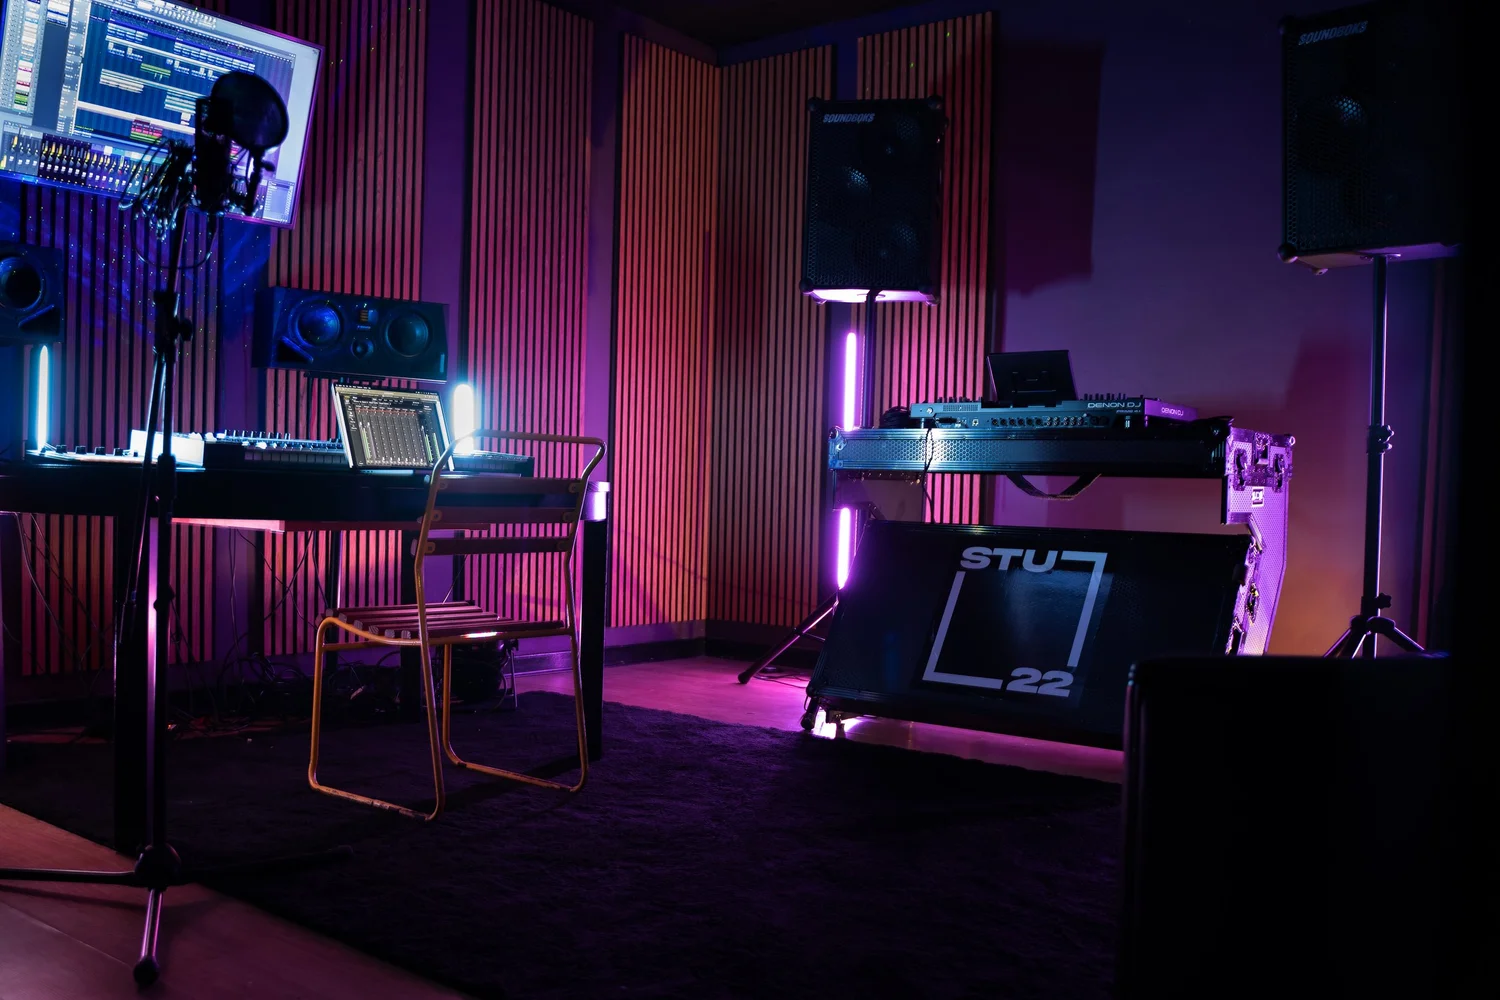
A broadcast-ready vocal does not live in the microphone or the software. It lives in the choices you make before the tape rolls, how you engage with the beat, and the care you take in the mix. When you book the Portal at STU 22, you are investing in a room that supports every one of these decisions.
Before You Press Record: The Physical Foundation
Your voice is an instrument made of muscle and air. It performs better or worse depending on your physical state. Too many artists waste studio time by not addressing the basics: sleep, hydration, and warm-up.
Sleep matters more than any plugin. A rested voice sounds warmer, holds pitch better, and has more dynamic range. If you are tired, your voice gets thin and flat. You cannot fix that in the mix. Aim for seven to eight hours the night before a session. If you are recording vocals early morning, you will feel the difference between four hours and eight hours of sleep in the second verse.
Hydration is not a myth. Your vocal cords are a membrane; they vibrate best when they are supple, not dry. Drink room temperature water for at least two hours before you record, not ice water and not sugary drinks. Ice-cold water tenses your throat. Avoid dairy, cream, and heavy food two to three hours before a session; they coat your throat and dull your tone. Avoid alcohol the night before. If you are drinking coffee, have it more than one hour before you perform so the caffeine does not make you tense.
Warm up your voice properly. Spend five to ten minutes on gentle sirens (make a siren sound through a straw or with pursed lips), lip trills, and light humming on different pitches. This loosens your muscles and gets your folds moving. Do not strain. If you have a song in mind, do a gentle run-through without the beat, just to remind your muscles what is coming.
Book a Session at the Portal
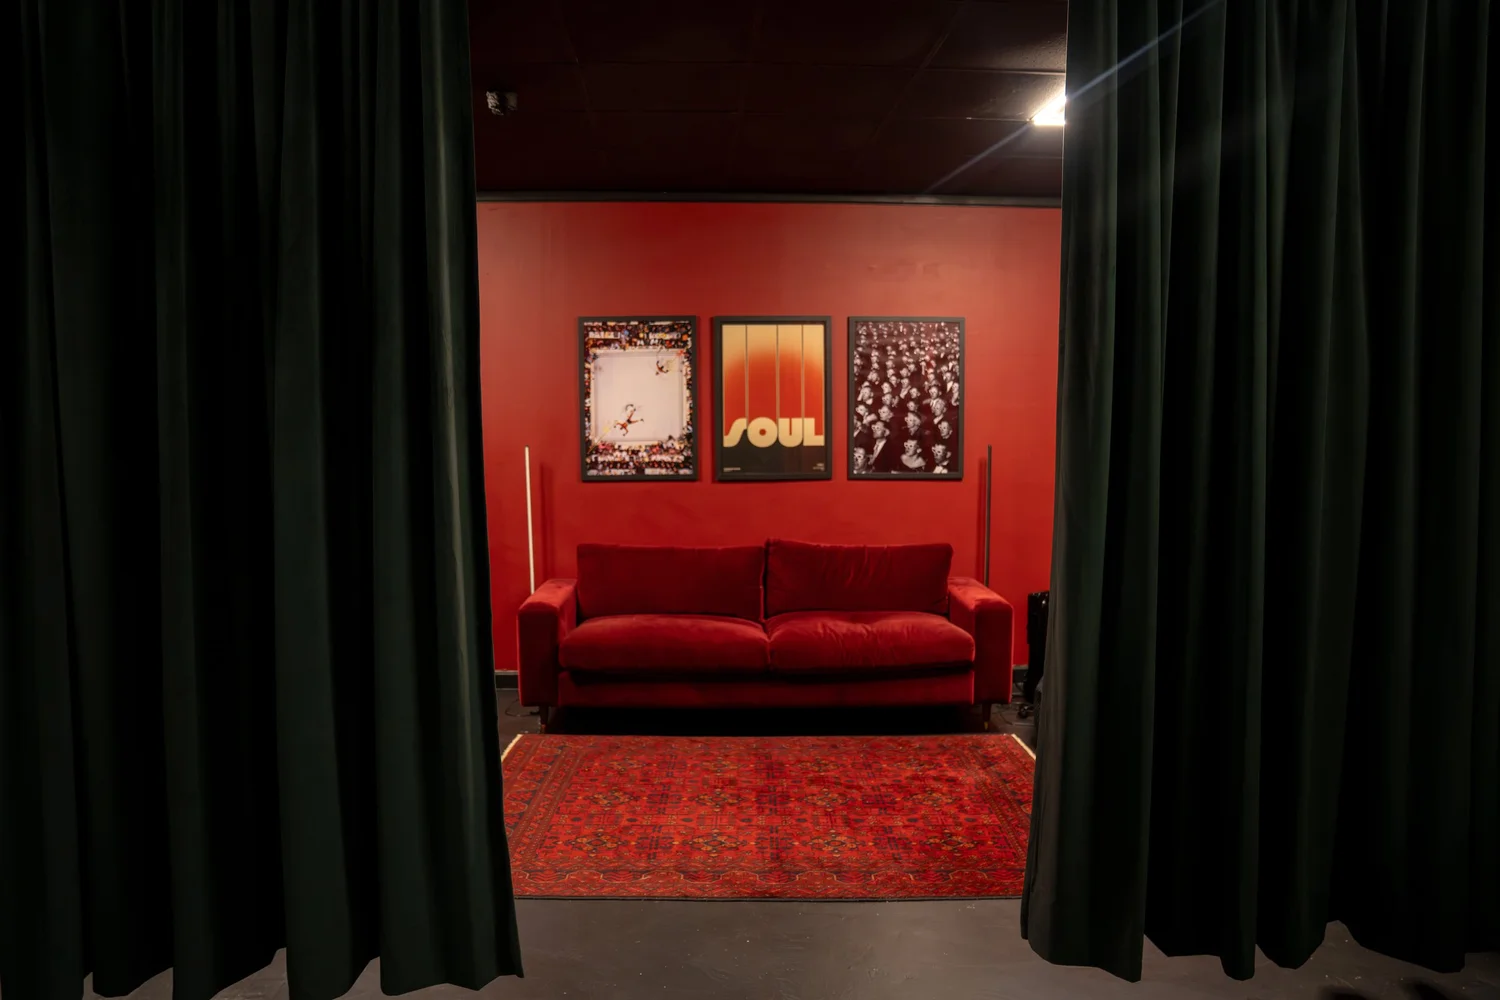
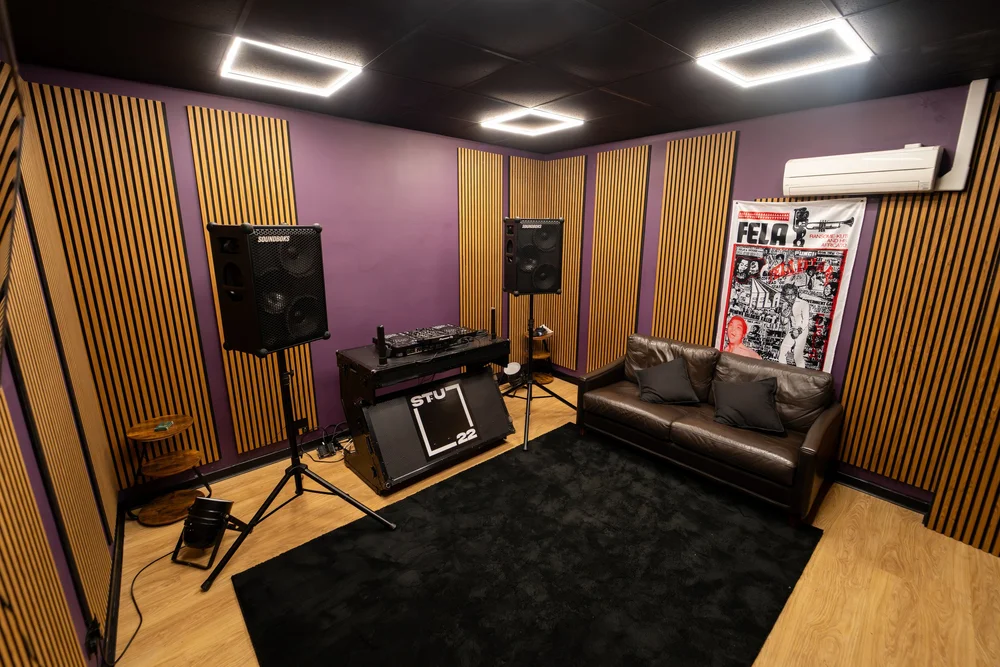
The Portal is set up with everything you need to record broadcast-quality vocals. Reach out to book your session.
Book NowGain Staging Explained Simply
Gain staging is the art of setting input levels correctly so your recording has plenty of dynamic range and zero distortion. It is the single biggest technical control you have over vocal quality. Get it wrong and no amount of editing or mixing rescues the take. Learning this skill separates professional vocal recordings from amateur ones, whether you are recording in a professional studio or at home.
What Gain Is
Gain is amplification. When you turn up the input gain on an audio interface like the Focusrite Scarlett 18i16, you are making the incoming signal from the microphone louder before it enters the computer. The more you turn it up, the louder the recording. The less you turn it up, the quieter.
Clipping: The Unforgivable Sin
Clipping happens when the signal gets too loud and the interface cannot handle it any more. The waveform gets squashed flat at the top and bottom like a wave hitting a cliff. Clipping sounds harsh, digital, and broken. Unlike analog distortion (which can sound warm), digital clipping is pure garbage. Once you clip, it is gone. You cannot recover it in the mix. There is no algorithm that un-clips a vocal.
Clipping shows up visually in your recording software as a red line at the top of the waveform. If you see red, that take is compromised.
The Golden Rule: Minus 6 dBFS
The target is simple: set your input gain so the loudest parts of your vocal peak around minus 6 dBFS (that is decibels relative to full scale, the maximum the interface can record). This gives you a safety margin so you will never clip, and it leaves headroom for the mix engineer to work with.
Here is how to set it on the Focusrite: Start a playback of your beat at full volume. Sing or rap through a verse at performance energy. Watch the level metre in your DAW (the software you are recording in). The green bars show you the signal level in real time. Turn the input gain knob on the interface until your peaks sit around minus 6 to minus 8. If you see any red clipping indicator, turn the gain down. Always leave room.
A common mistake is recording too hot, thinking it sounds louder or more punchy. It does not. Recording too hot clips the transients (the sharp attack of your voice), makes dynamics disappear, and sounds thick and dull. Record at the right level and the mix engineer has all the information they need to make you sound powerful.
Microphone Technique: The Invisible Control
Your microphone technique is the most powerful tool in the room. Small changes in distance and angle shift how you sound dramatically, and they cost nothing.
Distance from the Capsule
Position your mouth roughly a fist to a hand span away from the microphone capsule (the part that listens). That is about four to eight centimetres. Too close and you are in the proximity effect zone, which we will cover next. Too far and the room noise takes over, and your vocal sounds thin and distant.
The exact distance depends on your voice. A deeper voice can sit closer and still sound natural. A thinner voice often needs a bit more space. Experiment on the first take and mark the spot with tape on the stand so you can return to it. In a proper music studio setup, the engineer will help you find this sweet spot quickly.
Staying On Axis
On-axis means your mouth is pointing straight at the capsule. Most microphones, especially condensers, pick up sound most accurately when you are directly in front. If you are off to the side or angled away, the tone changes, high frequencies roll off, and the sound gets muddy. Stay centred. If you need to look at the lyrics, tilt the monitor screen, not your head.
The Proximity Effect: Why Closer Sounds Bassier
The proximity effect is the reason very close microphones sound fat and bass-heavy. The closer you are, the more your low frequencies get boosted. This is physics, not design. It can sound great on a warm, intimate vocal. It can also bury a rap delivery if you are too close and too bassy to start with.
Use proximity effect deliberately. If your voice is thin or bright and you want more warmth, step a little closer. If you are already a bass-heavy rapper or singer and you want definition, step back slightly. One or two centimetres is enough to hear a difference.
Pop Filters and Plosives
A pop filter is a thin screen that sits between your mouth and the microphone. It catches the burst of air that comes out when you say P, B, and T sounds. Without a pop filter, those plosives will distort the recording even if the gain is set perfectly. They show up as a sudden loud thump in the waveform.
If you do not have a pop filter, you can control plosives with distance and angle. Sing or rap slightly off-axis, angling the microphone so the plosive air does not hit the capsule directly. You lose a tiny bit of on-axis tone, but you keep the take clean. It is a trade-off, and it works. The ideal is a pop filter; the practical option is angle.
Controlling Sibilance on S Sounds
Sibilance is the hiss on S and Z sounds. If you over-enunciate or if you are too close to a bright microphone, sibilance gets loud and harsh. It is painful to listen to. You can control it at the source by singing S sounds slightly past the capsule, so the hiss does not point straight into the microphone. This takes practice, but it works. You are not removing the S; you are just angling the harshness away from the recording.
Working with the RODE NT-USB and Bringing Your Own Microphone
The Portal at STU 22 is equipped with a RODE NT-USB, a USB microphone that connects directly to a computer without needing extra equipment. Many artists are surprised that a good vocal can come from it. The NT-USB does certain things well: it is portable, it needs no phantom power, it has a built-in headphone output for monitoring, and it sounds clean and clear on vocals.
The limits of the NT-USB are important to know. It is not a large-diaphragm condenser microphone on a shockmount in an isolation booth. The diaphragm is smaller, so it does not capture low frequencies as richly as a larger mic. It is more prone to picking up room noise and handling noise. But in the Portal, with full acoustic panelling and a treated environment, these limits matter much less. If you commit to good mic technique, stay steady, and watch your levels, you will get a genuinely broadcast-quality recording.
Many artists bring their own microphone. If you have an XLR condenser microphone (the kind with a three-pin cable), you can plug it into the Focusrite Scarlett 18i16 interface at the Portal. The Scarlett has eight XLR inputs and will send phantom power (a small electrical current that powers certain microphones) to the mic automatically. When your engineer or setup person plugs in your condenser microphone, phantom power is already waiting. You do not need to think about it. Just check that your microphone is a condenser and that it expects 48V phantom power. If it does, you are ready to record.
Get Professional Monitoring and Setup
Whether you bring your own mic or use the RODE NT-USB, you will be working in a treated acoustic environment with accurate monitoring. That changes everything.
Message on WhatsAppHeadphone Mix and Latency: The Feel of Recording
How you hear yourself matters as much as what you sound like. A bad headphone mix kills a performance. A good one lifts it.
The beat in your headphones should be quieter than you think. A common instinct is to crank the backing track so you hear it clearly. Resist it. Set the beat about 60 to 70 per cent of the vocal level in your headphones. This keeps you focused on your performance, not on fighting the track. You can always hear the beat; you are just not chasing it.
A little reverb in your headphones helps you perform. It gives your voice space and makes you feel comfortable, especially if you are used to singing in a room. But that reverb must not reach the recording. It lives only in your headphones. This is called direct monitoring: you hear yourself with reverb in real time, but the microphone is recording dry. If the reverb ended up in the recording, the mix engineer would have no control over it later.
Latency: The Delay Between Your Voice and Your Ears
Latency is the tiny delay between the moment sound enters the microphone and the moment you hear it back. Modern interfaces and software are fast, but not instant. A buffer size (the amount of data the computer processes before sending sound back) of 256 samples usually gives you latency of around 5 to 6 milliseconds, which is barely perceptible. A buffer of 512 gets you around 10 to 12 milliseconds, which starts to feel noticeable. Your brain notices the delay between your voice and your ears and it throws you off.
To reduce latency, lower the buffer size before you record. If your computer can handle it (and most modern machines can), a buffer of 128 samples gives you 2 to 3 milliseconds, which feels natural. If your computer struggles, use the lowest buffer size that does not crackle or drop audio.
Taking It Seriously: Recording Multiple Takes and Comping
Professional vocal recording is not about one perfect take. It is about capturing three to five full passes of a section, then selecting and combining the best moments into one seamless performance.
Record each pass from the start of a verse or chorus to the end without stopping. Do not punch in over mistakes. Do not re-sing one word. One complete pass, every time. This is called comping: you record multiple takes and then combine them by picking the best phrase from each take. A phrase might be one bar or two bars, depending on the song. You might use the first line of verse one from take two, the second line from take three, and the chorus from take one. Comping gives you the best of multiple performances without the robot sound that comes from replacing individual words.
Energy consistency across takes is critical. If you punch in, you risk recording a section with completely different energy than the phrase before it. A full pass keeps the energy and vibe alive across the whole performance. If you nail a section on take four but mess up the second verse, you do not throw it away. You mark it as good for the first verse and use another take for verse two.
Slating Your Takes
Before each take, speak clearly into the microphone: "Lead vocal, take one" or "Verse one, take three." Record this onto a separate track. When you are done, you have a clear audio label on the recording so you can find takes quickly. Your mix engineer will bless you for it. They can hear instantly which take they are listening to.
Doubles, Stacks and Ad Libs: Building Width and Energy
A double vocal is a second pass of the same vocal part performed identically and panned to the opposite side of the stereo field. It widens the mix and adds weight. The key word is "identically": timing and diction must match closely, or the double sounds sloppy.
When you record a double, stay precise. Match the timing to the lead as closely as you can. Match the phrasing and the inflection. A double that is slightly different from the lead (a different ad lib tone, slightly different breath placement, or mismatched vibrato) sounds like two people singing, not like a widened version of one voice. Hard pan one double full left and one full right, and in the mix they sound like a wall. Keep them close together in timing.
An octave stack is a vocal recorded an octave higher or lower than the main vocal. This adds a harmonic richness without widening the image. Octaves sit mostly centre in the mix and add body. Record them cleanly; if the octave is out of tune, it clashes with the main vocal and sounds weak.
Ad libs and runs are recorded separately from the lead. A rap ad lib (a shout, a phrase, a whispered word) performed once as a fresh take gives you flexibility in the mix. You can layer it over the main vocal, place it in between phrases, or quiet it down. Record ad libs with the same care as the lead: good takes, marked clearly, and comped for the best performances.
A common trap is stacking too many layers. Three doubles plus two octaves plus five layers of ad libs becomes a muddy, indistinct mess. Two doubles (hard left and right) on a hook, one octave underneath, and a few tastefully placed ad libs is often all you need. More layers can work if each one has its own space in the mix (different EQ, different reverb, different level), but start simple and add only what the song needs.
Rap Specifics: Breath, Timing and Energy
Rap vocals live in a different relationship with the beat than sung vocals. Timing, pocket, and breath control matter in a particular way.
Pocket and Timing Against the Beat
Pocket is where the vocal sits in relation to the beat: slightly ahead (pushing), slightly behind (laid back), or dead centre (straight). A loose pocket sounds sloppy. A tight pocket sounds disciplined. Record at least one take where you sit dead centre on the grid, locking to every beat click. This is your reference take. Then, if the song calls for it, a laid-back take on top can add flavour. But you need the tight take first. The mix engineer can then use both if needed.
Breath Control and Phrasing
Breath is part of rap. Intentional breath adds energy and naturalness. Uncontrolled gasping breaks the flow. Learn where the natural breath points are in your bars (usually at the end of a line or a thought) and plan for them. Record with enough air in your lungs to get through a full bar without running out mid-word. This comes from stamina and practice.
Punching In on Bar Lines
If you do need to punch in (record over a small section), punch at a bar line, not in the middle of a bar. If you punch in on the second beat of a bar, the timing almost always sounds off. A bar line is a clean entry point and the edit is easier. But remember: full passes are preferable. Punch-ins are a last resort.
Energy Versus Shouting
Energy and volume are not the same thing. A powerful rap vocal has presence, diction, and dynamics, not just loudness. If you are shouting, the engineer has nowhere to go in the mix. You are compressed, lost, and flat. Record with the energy and attitude you want to project, but keep your volume under control. The mix engineer will make you sound powerful through processing and placement, not by recording you at full blast.
Editing: Cleaning and Tuning
Editing is the invisible art. When it is done well, you do not notice it. When it is done poorly, the vocal sounds robotic or fake.
Tuning (correcting pitch) is a tool, not a crutch. A little tuning on obvious off-key moments keeps the vocal clean. Heavy tuning on every note makes it sound artificial. If you are consistently off-pitch, get back in the booth and record a better take. The mix will sound better and you will learn something.
Timing alignment is essential for doubles and stacks. A double that is more than 10 to 15 milliseconds away from the lead sounds like two people singing. Use your DAW's timing tools to shift the double so it locks with the lead. It should sound like one voice, widened, not two competing voices.
De-breathing removes the loud inhales that happened before phrases. But here is the catch: take out too much breath and the vocal sounds inhuman. A little breath is natural and makes the performance feel alive. Remove only the obvious gasps, not every small intake. If breaths are unavoidable, sometimes it is better to keep them than to make the vocal sound like a robot reading a script.
Mouth clicks are the small pops that happen when your lips part. They are more noticeable on close-miked vocals and on sibilants. Zoom in to the waveform, find the click, and gently smooth it down or cut it out. This is micro-level work, but it pays off in a clean, professional sound.
Mixing a Vocal: EQ, Compression, and Space
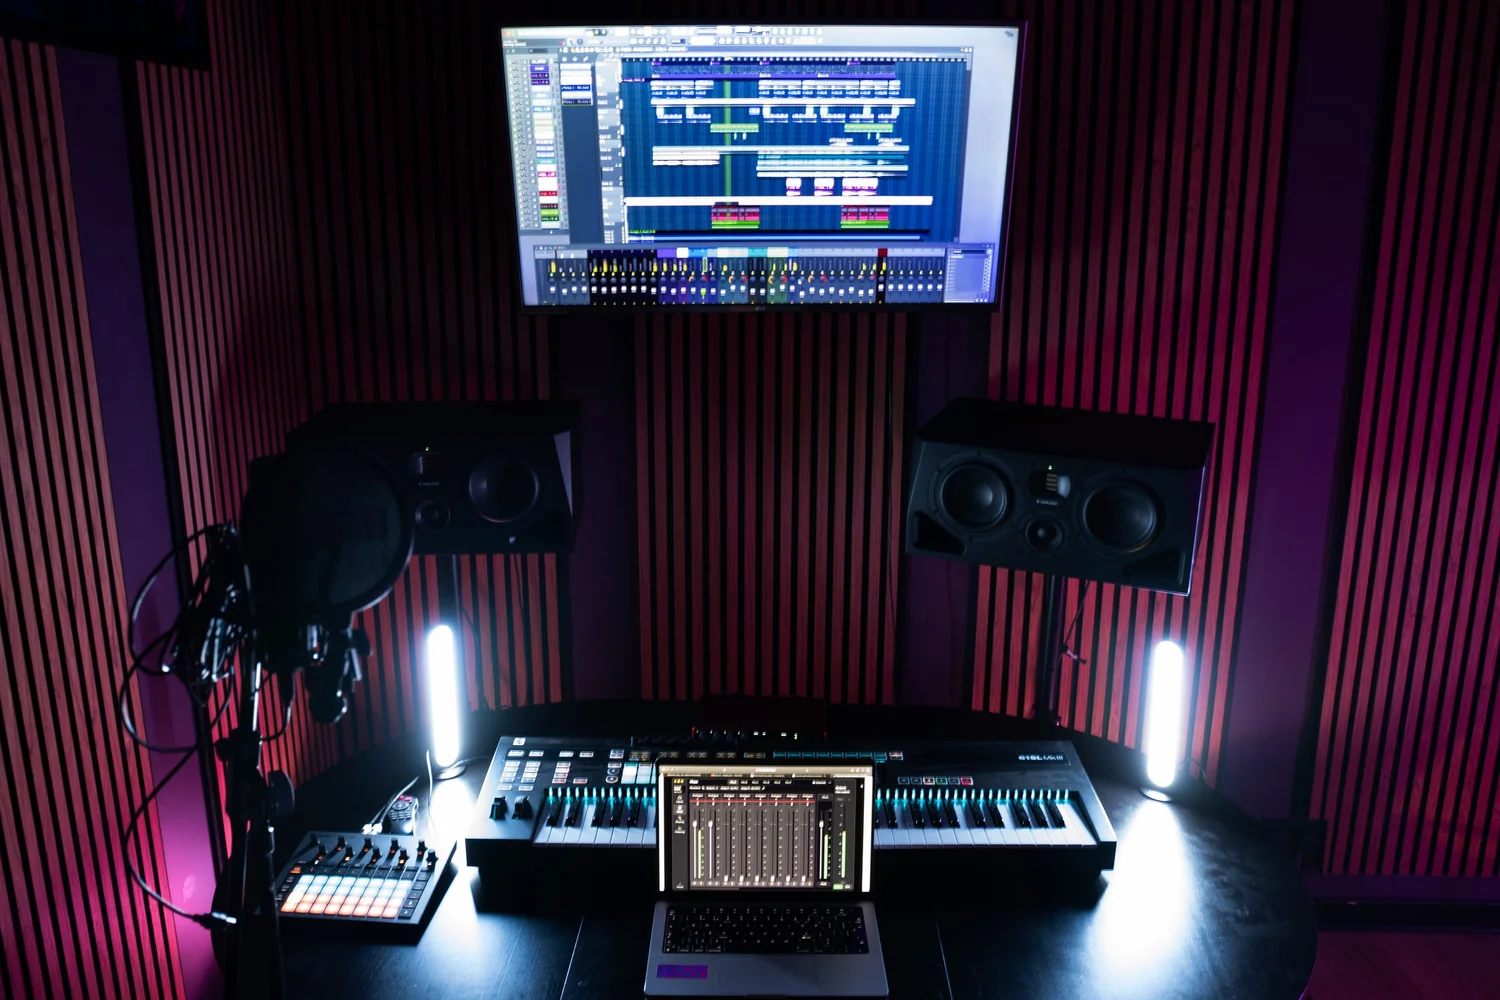
Mixing a vocal is not magic, and you do not need a room full of gear to do it well. The Portal at STU 22 has ADAM Audio A77H monitors and acoustic treatment, which means you can hear what you are actually doing. That is the foundation. From there, mixing is about subtractive choices first, then adding space.
Subtractive EQ: Start by Removing
EQ is equalization: adjusting the balance of different frequencies. A high-pass filter removes unnecessary low frequencies. For most male and female vocals, start with a high-pass filter around 80 to 100 Hz. This removes rumble and proximity effect bloat without affecting the tone. If your vocal sounds hollow after high-passing, you went too high; dial it back to 60 Hz. If it still sounds thick, try 120 Hz. Use your ears, not a formula.
Next, listen for any harsh frequencies. Around 2 to 3 kHz, many vocals get a bit nasal or brittle. Use a narrow EQ cut (a narrow bell curve) to gently reduce that range. Do not make it sound thin; just take the edge off. Around 5 to 8 kHz, some vocals have a sizzle or presence peak. Again, a gentle cut is often better than pushing the frequency up.
Compression: Two Light Stages Beat One Heavy Stage
Compression makes loud parts quieter, so the overall level feels more even. But too much compression squashes the life out of a vocal. Better to use two compressors in a row, each doing a light job, than one compressor doing a heavy job.
First compressor: Ratio 2:1 to 3:1, attack 5 to 10 milliseconds, release 50 to 100 milliseconds, threshold set so you catch only the peaks. This gentle first stage glues the vocal and catches extreme dynamics. Second compressor: Ratio 1.5:1, slower attack (20 to 30 milliseconds), longer release (200 milliseconds). This adds character and warmth without audibly squashing.
If you have only one compressor, use a moderate ratio (3:1 to 4:1), a moderate attack (10 milliseconds), and a moderate release (100 milliseconds). Start with a low threshold and back off if you hear the compressor working too hard. The moment you notice compression, you have gone too far.
De-essing: Taming Sibilance in the Mix
A de-esser is a specialised compressor that only reacts to sibilant frequencies (around 4 to 8 kHz). Use it after the main compressor. Set it conservatively; you are not trying to remove all sibilance, just take the edge off harsh S and Z sounds. If a de-esser is not available, a gentle EQ cut around 5 kHz does most of the work.
Reverb and Delay: Creating Space
A short reverb (a small room reverb, 1 to 2 seconds decay) sits underneath the vocal and makes it feel present in a room. Send the vocal to a short reverb auxiliary channel at about 20 to 30 per cent. A longer reverb (a hall or cathedral reverb, 3 to 5 seconds) adds depth and atmosphere. Use it more subtly, around 10 to 15 per cent. Together, they create dimension without drowning the vocal.
A slap delay (a repeat that comes back after one beat or half a beat) adds depth and makes the vocal sit better in the mix. Set it to the tempo of the song so the repeats sync with the beat. Use a short feedback so the repeats fade quickly, not creating a echo chamber. Around 20 to 30 per cent of the main vocal level is a good starting point.
Parallel Compression: Adding Weight
Parallel compression is a secret weapon for adding weight without sounding compressed. Send the vocal to an auxiliary channel with a compressor set to crush heavily: ratio 4:1 or higher, threshold low. Mix that crushed version in underneath the main vocal at about 20 per cent. The main vocal stays natural; the crushed underneath adds body and glue. This is especially effective on rap vocals and hooks where you want power.
Monitoring and the Difference Accuracy Makes
Mixing on laptop speakers is a recipe for a vocal that sounds great at home and terrible everywhere else. Accurate monitoring is not a luxury; it is the difference between a professional mix and an amateur one. This is why proper music studio hire in East London matters: you get the real tools.
The ADAM Audio A77H monitors in the Portal are set up to give you a flat, truthful picture of what you are doing. Flat means they do not colour the sound: no exaggerated bass, no hyped highs. The acoustic panelling on the walls and ceiling controls reflections so you hear the monitors, not the room. This is what accuracy means. When you mix on a system like this and then check your mix on a car stereo, a home speaker, and headphones, it translates because you mixed on truthful speakers, not coloured ones.
The habit you need is this: mix on accurate monitors, then check your mix on at least three other systems before you call it done. Listen in a car. Listen on phone speakers. Listen on cheap headphones. If the vocal sits well in all of them, it will sit well everywhere. If it is buried in the car or too loud on phone speakers, go back to the accurate monitors and fix it.
| Processor | Typical Starting Setting | What It Fixes | Warning Sign You Have Gone Too Far |
|---|---|---|---|
| High-Pass Filter | 80 to 100 Hz | Low-end rumble and proximity effect | Vocal sounds thin or tinny; presence is gone |
| Subtractive EQ (2-3 kHz) | Narrow cut, minus 2 to 3 dB | Nasal or brittle tone | Vocal loses warmth; sounds hollow |
| Compression (First Stage) | Ratio 2:1 to 3:1, Attack 5-10 ms | Tames peaks, glues performance | Vocal sounds compressed or squashed; loss of dynamics |
| De-Esser | Threshold to taste, Ratio 4:1 | Harsh sibilance on S and Z sounds | Vocal sounds lispy or missing high frequencies |
| Reverb (Short) | 20 to 30% send, 1 to 2 second decay | Makes vocal feel present and spatial | Vocal sounds distant or swimming; reverb is louder than vocal |
| Parallel Compression | Ratio 4:1+, Heavy threshold, 20% blend | Adds weight and glue without squashing | Crushed channel is too loud; original vocal disappears |
Delivering Stems and Backing Up
A stem is a single audio track or a group of related tracks (e.g., all the vocal tracks mixed together, the bass, the drums, the synths). Stems allow a mastering engineer or a collaborator to remix or adjust individual elements without touching everything else. If you are delivering vocals to a producer or engineer for mixing, stems are the professional standard.
Naming matters. Label your stems clearly: "Vocal Lead", "Vocal Doubles", "Vocal Ad Libs", "Instrumental Clean", "Instrumental With Reverb". Do not use vague names like "Mix 1" or "Final 2". Include the sample rate and bit depth: 44.1 kHz or 48 kHz, 16-bit or 24-bit. Consistency across all your stems is crucial so they align perfectly when imported into the next session.
Before you leave the studio or finish your home session, back everything up. Copy your session to an external hard drive. Upload stems to a cloud service. Do not rely on a single drive. A session that took eight hours to record and four hours to edit is irreplaceable. Treat it that way.
Start Your Next Session
Whether you are recording your first vocal or refining your process, the Portal at STU 22 is set up for you to apply these techniques and get results. Book your session now.
Book the PortalFrequently Asked Questions
What is the difference between a condenser microphone and a dynamic microphone for vocal recording?
A condenser microphone is more sensitive and picks up more detail, which is why it is often used for vocals in studios. A dynamic microphone is tougher and less sensitive, which is why you see them on stage for live vocals. For recording vocals at home or in a studio, condensers are standard because they capture the nuance and subtlety of your voice. The RODE NT-USB acts like a condenser, so you get the sensitivity you need.
Can I record a professional vocal on a USB microphone?
Yes. The RODE NT-USB is a USB microphone that connects straight to your computer and can produce broadcast-quality vocal recordings if you use correct technique. Gain staging, mic distance, and the acoustic environment matter much more than whether the microphone is a massive studio condenser or a compact USB mic. The Portal is acoustically treated, which helps enormously. At home, USB microphones work best in a quiet room away from air conditioning, fans, and street noise.
How many vocal takes do I really need to comp from?
Three to five takes is the professional standard. Three gives you choices; five gives you plenty of safety. Beyond five, you are usually just repeating yourself. Record until you have three solid passes where the performance feels natural and the technical elements (timing, tone, pitch) are solid, then move on. Comping a vocal from three good takes almost always sounds better than trying to record one perfect take.
What does phantom power do and why do I need it?
Phantom power is a small electrical current (usually 48 volts) sent through an XLR cable to power certain types of microphones, especially condensers. It is called phantom because it sends power invisibly through the same cable as the audio. If you bring a condenser microphone to the Portal and plug it into the Focusrite Scarlett 18i16, phantom power is already available. You do not need to do anything; it turns on automatically. Dynamic microphones do not need phantom power. Check your microphone's manual if you are unsure what kind you have.
How do I know if I am recording too hot?
Watch your level metre in the DAW. If the peaks are consistently hitting into the red, you are clipping. If they are sitting around minus 6 to minus 8 dBFS, you are in the sweet spot. If they are too quiet (below minus 12), turn the input gain up on the interface. Record a test bar or two, sing or rap through it, and check the visual metre. Adjust the input gain and test again. Get it right before you record the real takes.
Should I use the pop filter or just move my mic further away?
A pop filter is the professional choice because it catches plosives without changing the tone. If you do not have a pop filter, moving the microphone slightly off-axis (angling it so air blasts do not hit the capsule head-on) works. It is not ideal because you lose a tiny bit of direct tone, but it does the job. The Portal has the tools you need, so use the pop filter.
Why does my vocal sound different in the studio than at home?
The room acoustics change everything. A room with acoustic treatment (panels, bass traps, absorption) sounds cleaner and more controlled than a bedroom with hard walls. Your voice sounds clearer because there is less reflective flutter and echo. The ADAM Audio A77H monitors in the Portal are also far more accurate than laptop speakers. Together, these factors mean you hear the truth about your vocal, not a coloured version of it. This lets you make better decisions in real time and in the mix.
Final Takeaway: Craft Over Gear
Professional vocal recording comes down to craft, not gear. The best microphone in a badly treated room with poor technique sounds worse than a modest USB microphone in a treated room with solid technique. This guide covers the craft: how to prepare, how to capture, how to arrange takes, and how to mix. The Portal at STU 22 gives you the room and the equipment to put these skills to work. Whether you are an independent artist stepping into a studio for the first time or an experienced rapper refining your process, the same fundamentals apply. Sleep well, hydrate, warm up, set your levels right, stay on technique, record multiple takes, and mix with intention. Read the guide to choosing a music studio in London to understand what to look for. Do all of this, and you will make a vocal that sounds professional.
When you are ready to apply this knowledge with proper monitoring and acoustic treatment, the Portal in Wapping is set up for exactly this work. For more context on what makes a studio tick, check out the guide to Focusrite partner studios in London. Drop a message on WhatsApp to book your session, or visit the full guide to music studio hire in East London if you want to explore all the options available.